AI BOT: Automated Tagging
Based on the conversation between the leads in your CRM and the AI bot, you will be able to see different tags automatically applied to your leads.
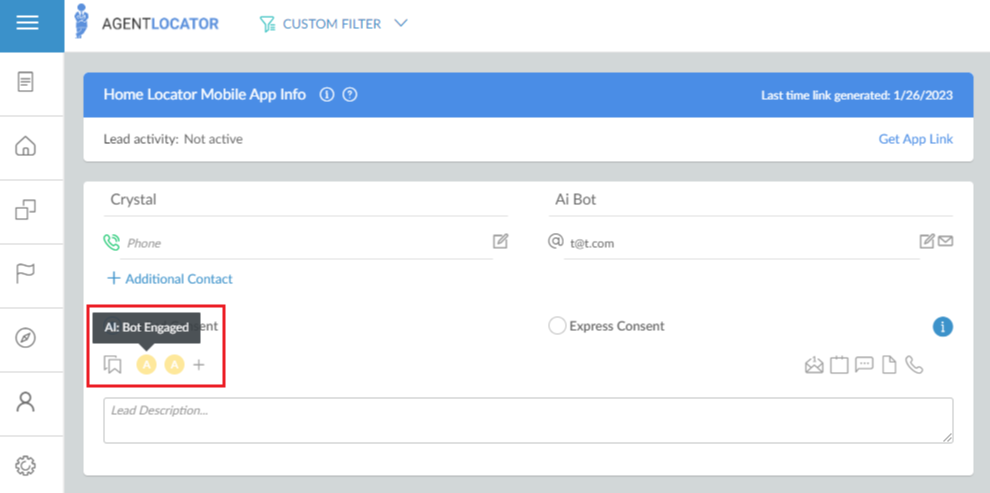
i.e. When a lead replies to the initial text message they will be tagged as AI: Bot Engaged, letting you know that this person has been responsive and the AI Bot is now engaged.
The bot will be using the following tags:
1. AI: Not Interested - the person is not interested based on their response.
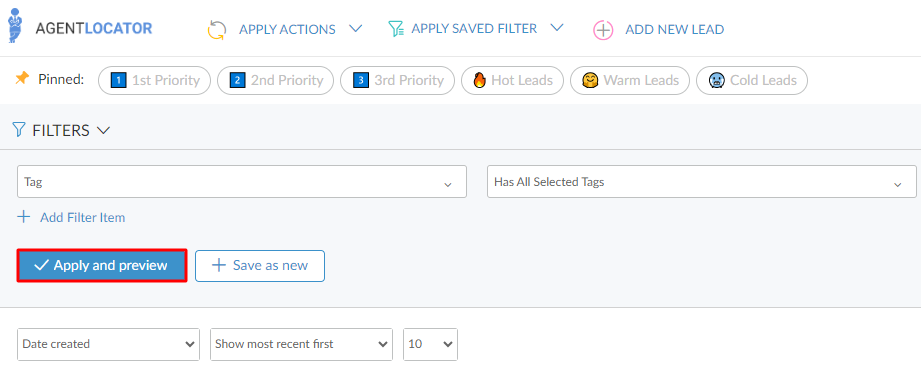
2. AI: Interested - the person expressed potential interest
3. AI: Needs Follow-up
4. AI: Bot Engaged - the person engaged with the AI bot
You can use these tags to filter out the leads.
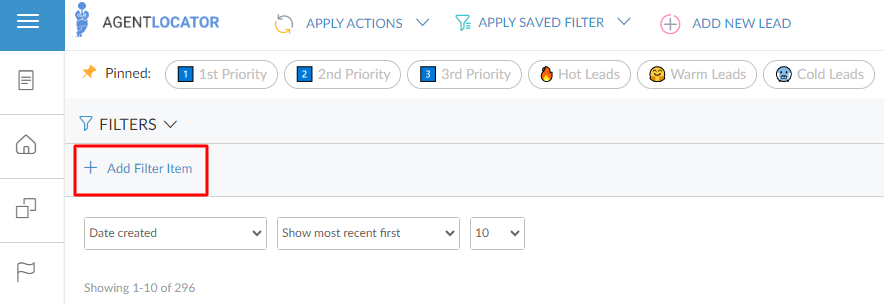
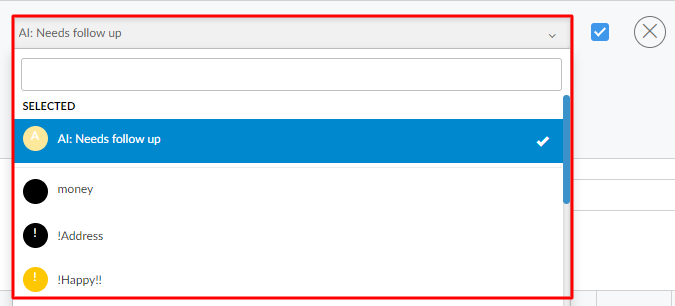
Step 1 First, click on: Add a filter item.
Step 2 And then click on the "Tag" category.
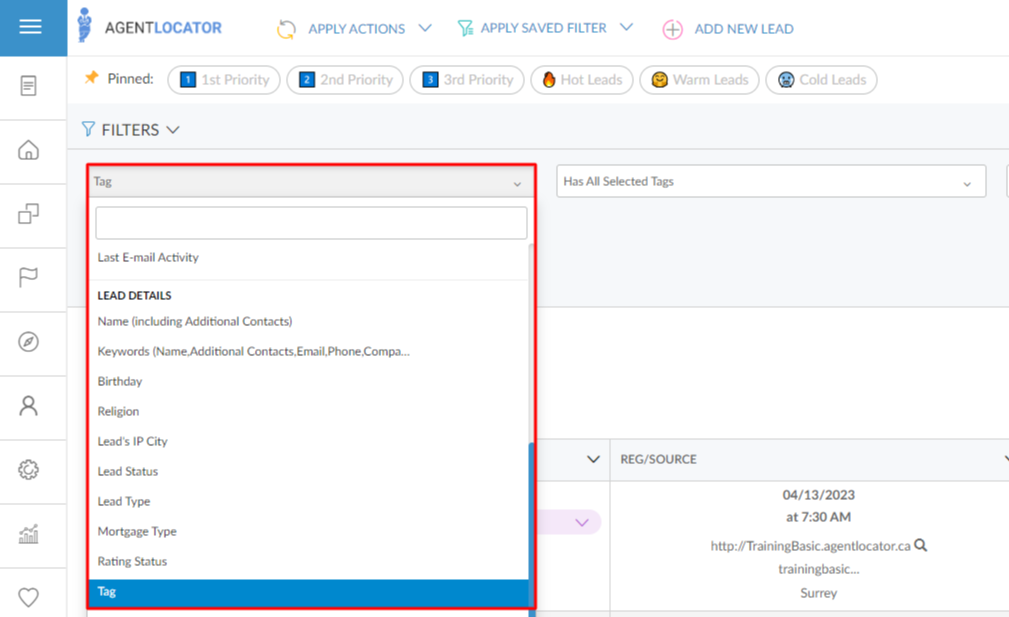
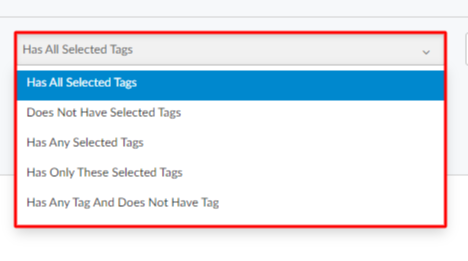
Step 3 Choose "Has All Selected Tags".
Step 4 Then select "Bot Engaged".
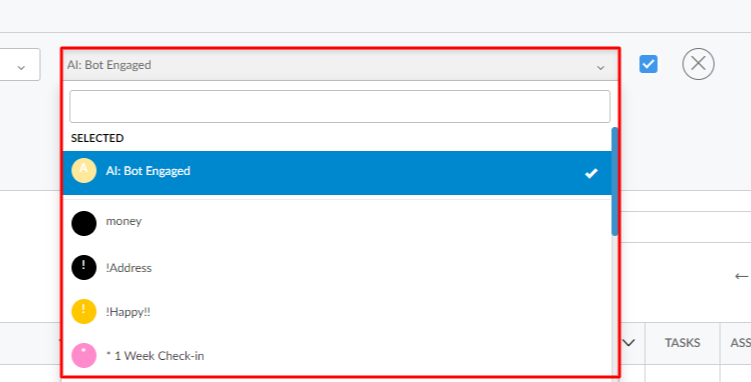
Step 5 Lastly, click on "Apply and preview".
This filter will display all the leads that have engaged with the AI bot.
If you want to filter leads who have expressed potential interest, you can filter for those who have the AI: Interested tag.
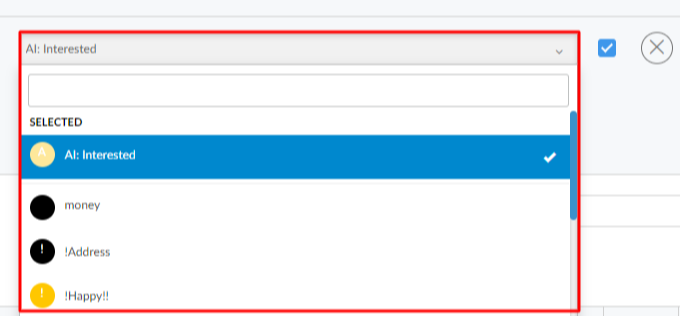
Similarly, you can filter all the leads that require follow-up.
Additionally, you can utilize these tags within campaigns to trigger or stop the campaign based on the result of conversation between the lead and the AI bot.
Step 1 Frist go to Settings and then choose Campaign Template Editor.

Suppose you have your own tags or campaigns set up in your system, after an initial campaign, you can configure it so that if a specific tag is applied to a lead, the campaign will stop triggering.
Step 1 Click on the campaign that you want to Edit.
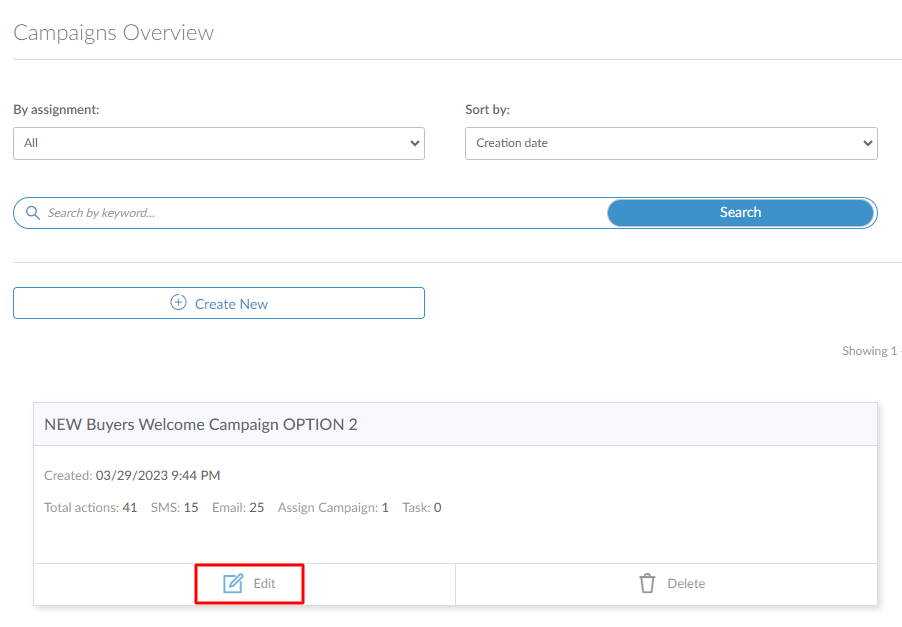
Step 2 The go to the Stopping Clauses and select the tag that will stop the campaign, i.e. AI: Bot Engaged.
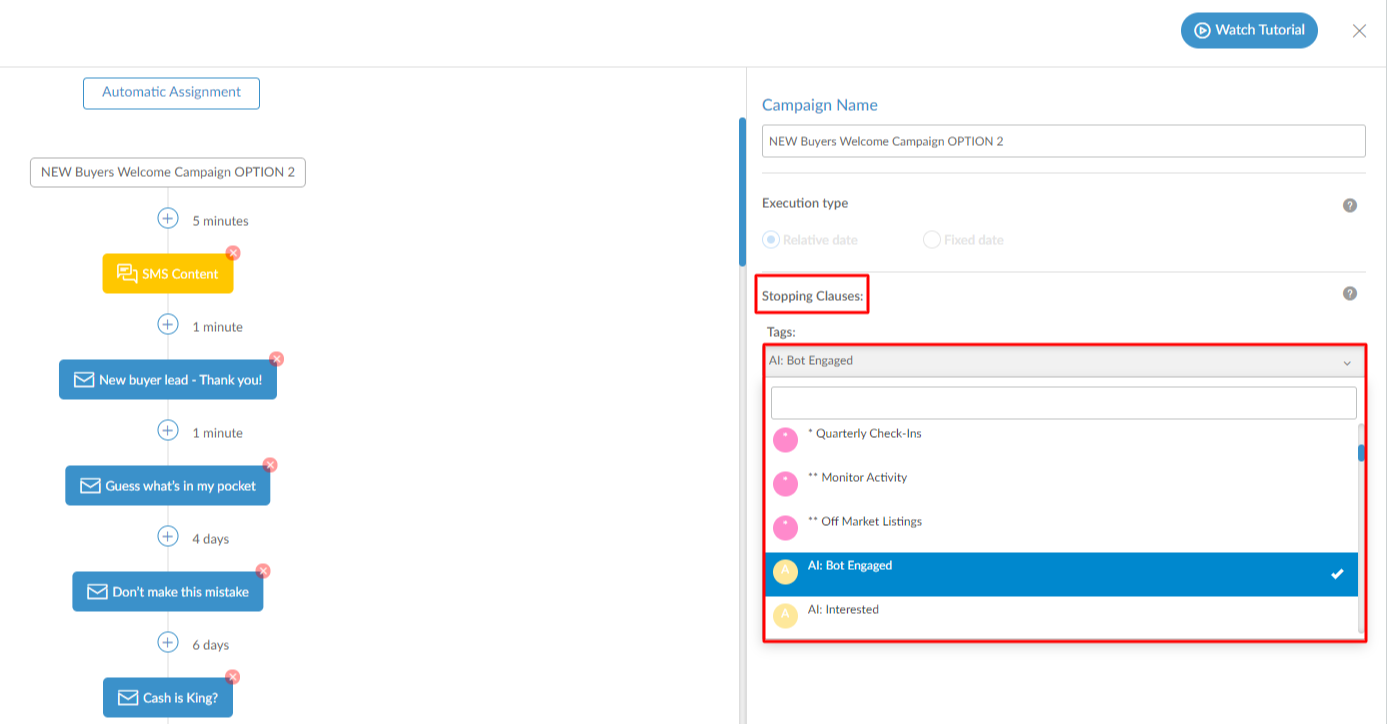
This means that once the AI bot engages with the lead and the tag is automatically applied, the campaign will stop.
You can also use automatic assignment rules based on tags so that a specific campaing initiates once one of the tags has been applied.
Step 1 Click on Automatic Assignment, and choose the option Always.
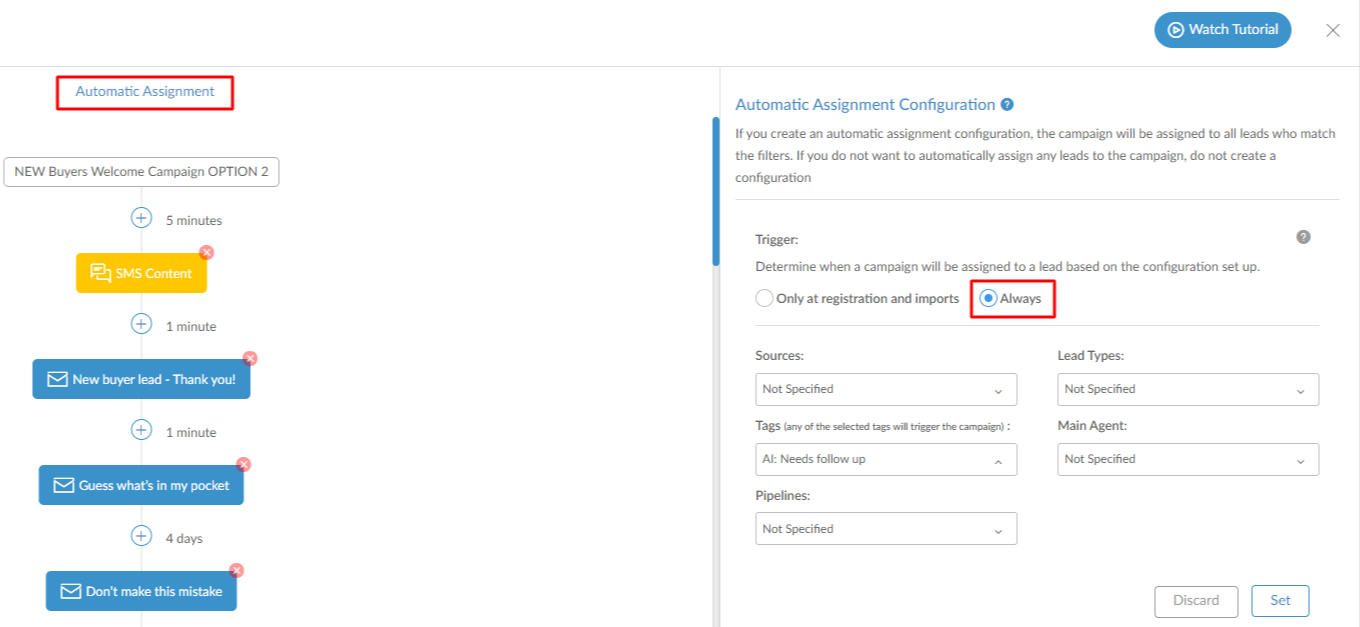
Step 2 Then Choose which tag will trigger the campaign,i.e.: AI Needs Follow-Up.
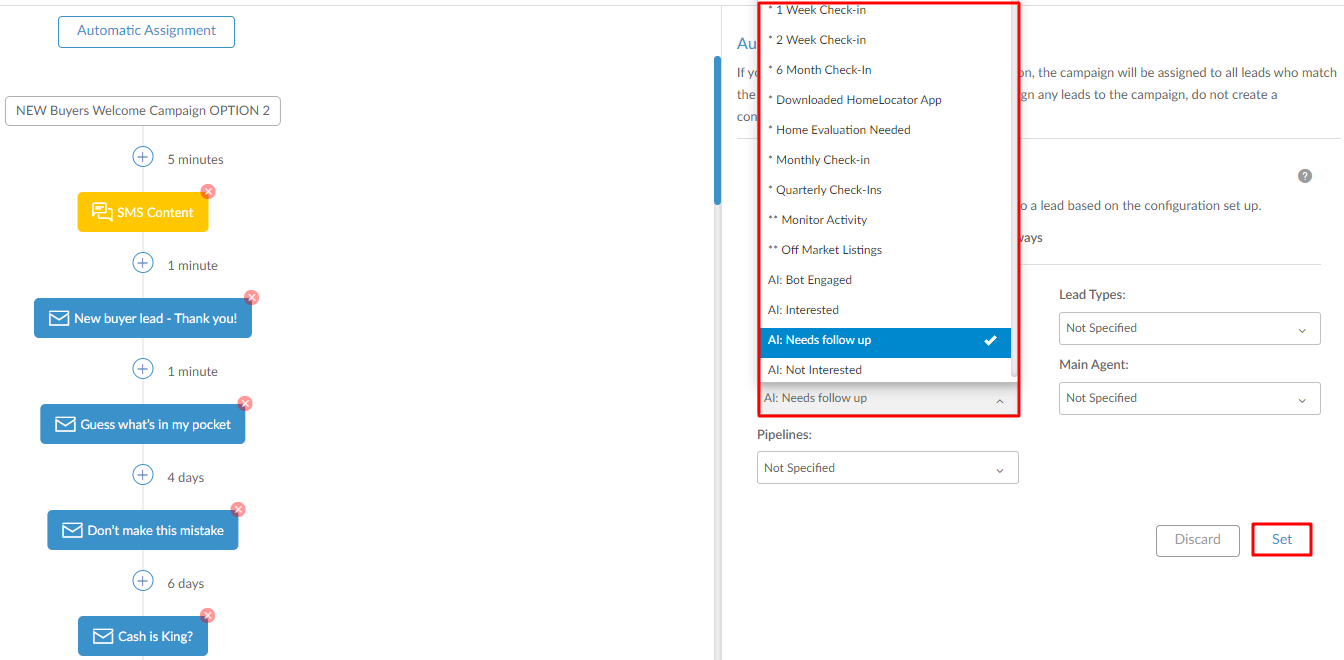
Step 3 Lastly, choose Set in order to save the set rules.
Comments